How to create a personalized song
Tell us who the song is for and share a few memories. You can check every word before creating the music.

Follow these steps
Choose the occasion
Open Create and choose the reason for your song. Select Next: Who it's for; use Other if your occasion is not listed.
Choose the occasion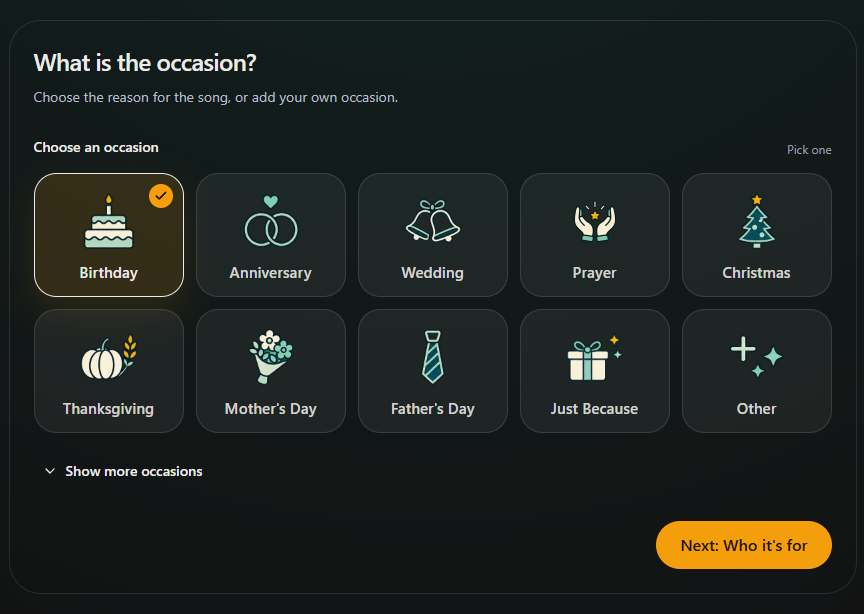
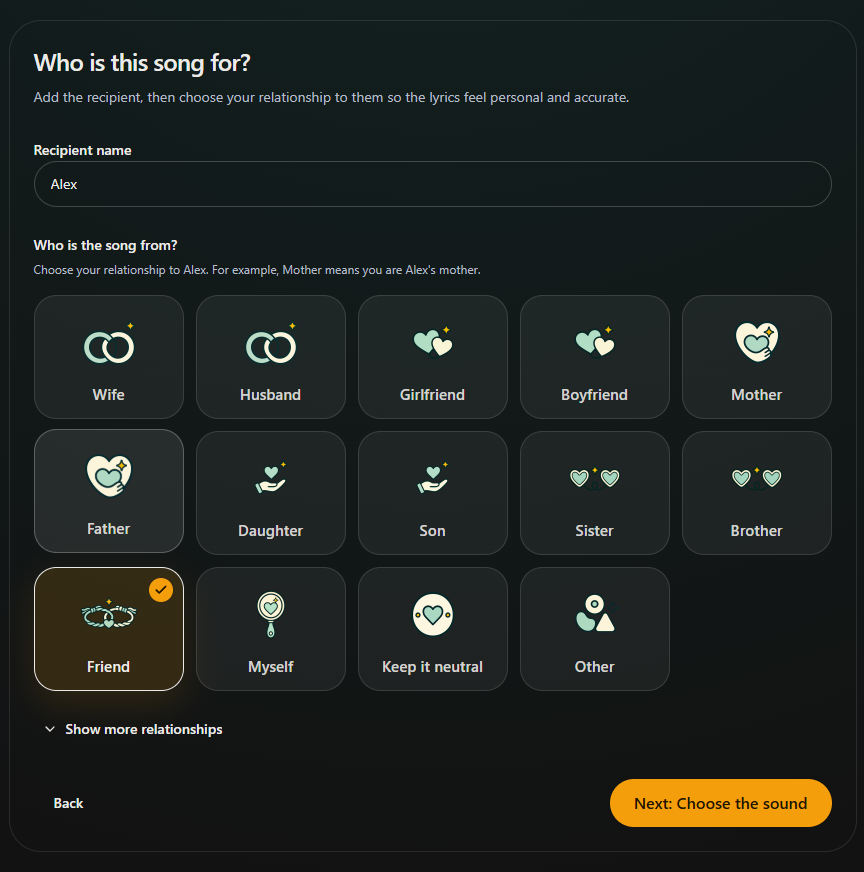
Say who the song is for
Enter their name and choose your relationship to them: Mother means you are their mother. Select Next: Choose the sound.
Choose the sound
Pick a genre, then choose the voice and language further down the page. Select Next: Add the story.
Choose the sound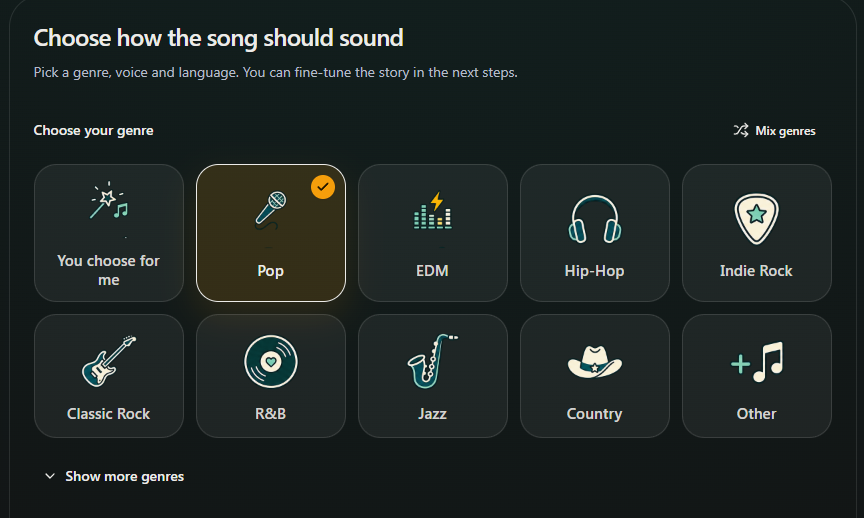
Add your memories
Write a few true details about them, a shared memory and what you want to say. Select Review lyrics first.
Add your memories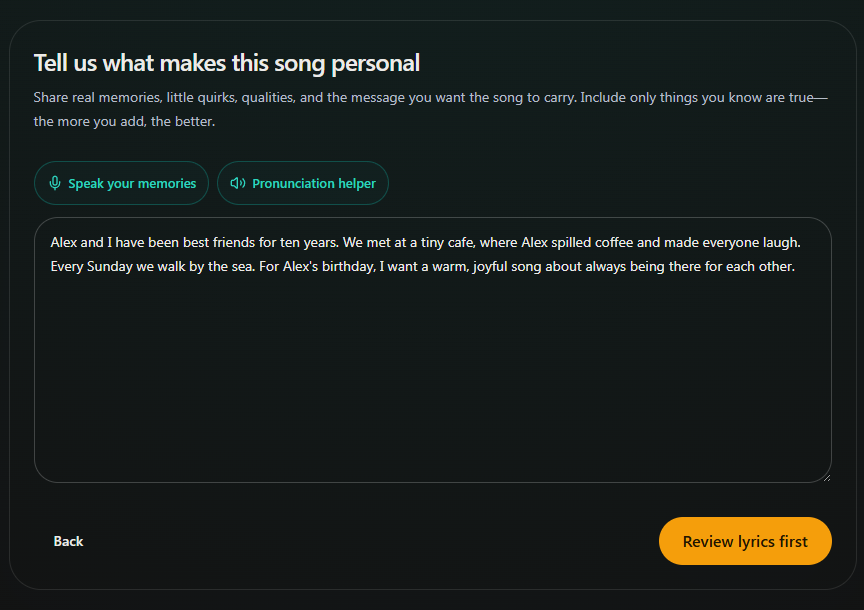
Check the title and lyrics
Read the words and check names and details. You can type directly in Song title and Lyrics to change them.
Check the title and lyrics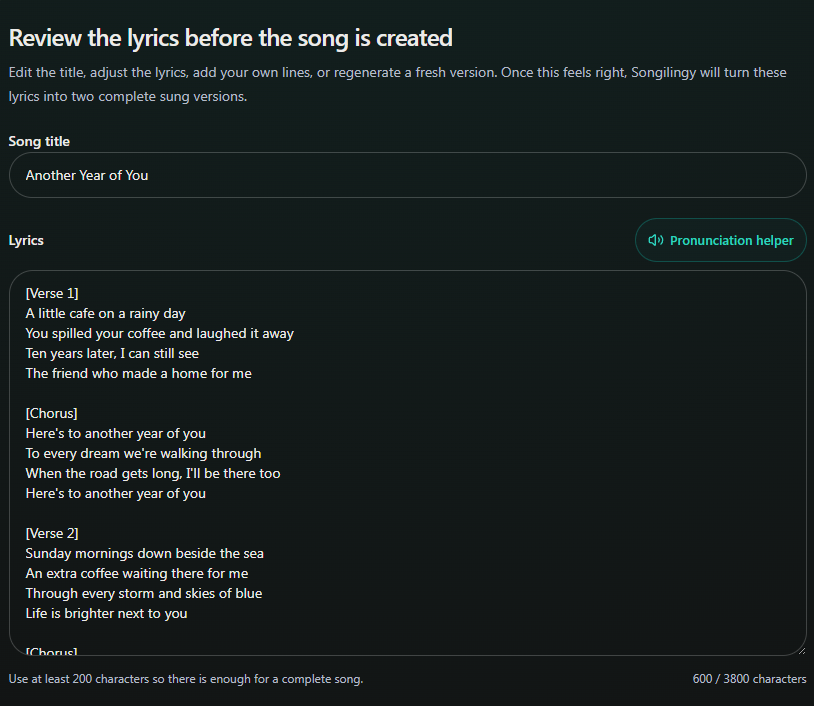
Create your two samples
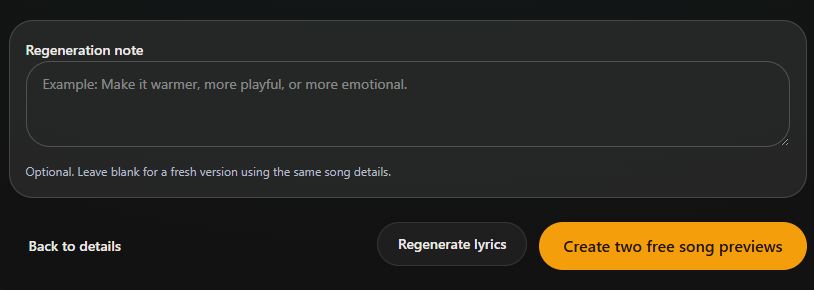
Select Create two free song previews. If asked, sign in or create a free account to continue.
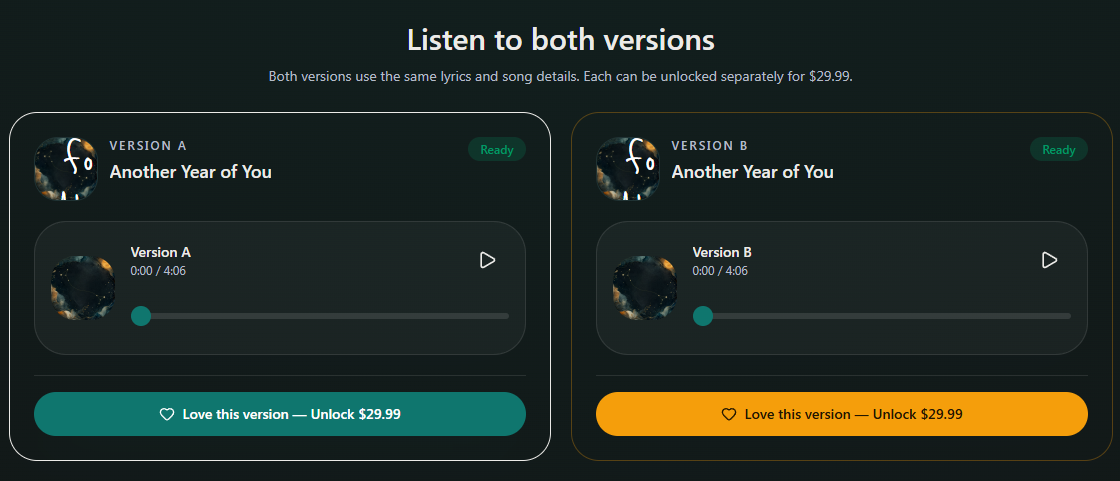
Listen to both versions
Your sample page opens while the music is being made. When each version is ready, press its play button to listen.
Listen to both versions